Yes, solar panels do need maintenance, but far less than most people expect. With just two to four cleanings per year and quick visual inspections, you can keep your system running at 95-100% efficiency and protect your investment for decades. The good news? Most maintenance tasks are straightforward enough for homeowners to handle themselves, requiring nothing more than a garden hose, soft brush, and about 30 minutes of your time.
The reality is that solar panels are engineered to withstand harsh weather without constant attention. They have no moving parts, self-cleaning rain often handles light dust, and quality installations can operate for 25-30 years with basic upkeep. However, neglecting that basic care means leaving money on the table. A panel covered in pollen, bird droppings, or leaves can lose a quarter of its power output, directly cutting into your energy savings and extending your payback period.
Understanding what maintenance actually involves removes the mystery and helps you make confident decisions about when to grab a ladder yourself and when to call in professionals. Whether you’re considering solar for the first time or already have panels on your roof, knowing the maintenance requirements upfront lets you budget time and money accurately. This guide walks you through every practical step, from gathering the right supplies to verifying your system performs as expected after cleaning, plus the safety checks that protect both you and your equipment.
What You’ll Need for Solar Panel Maintenance
You’ll need surprisingly few supplies to maintain your panels effectively, most items you likely have at home already. A dedicated solar panel cleaning kit packages everything conveniently, but you can also assemble your own maintenance toolkit with these essentials:
- Soft-bristled brush with an extension pole (car wash brushes work well)
- Squeegee or microfiber cloth for streak-free drying
- pH-neutral liquid soap or specialized solar panel cleaner
- Garden hose with an adjustable spray nozzle
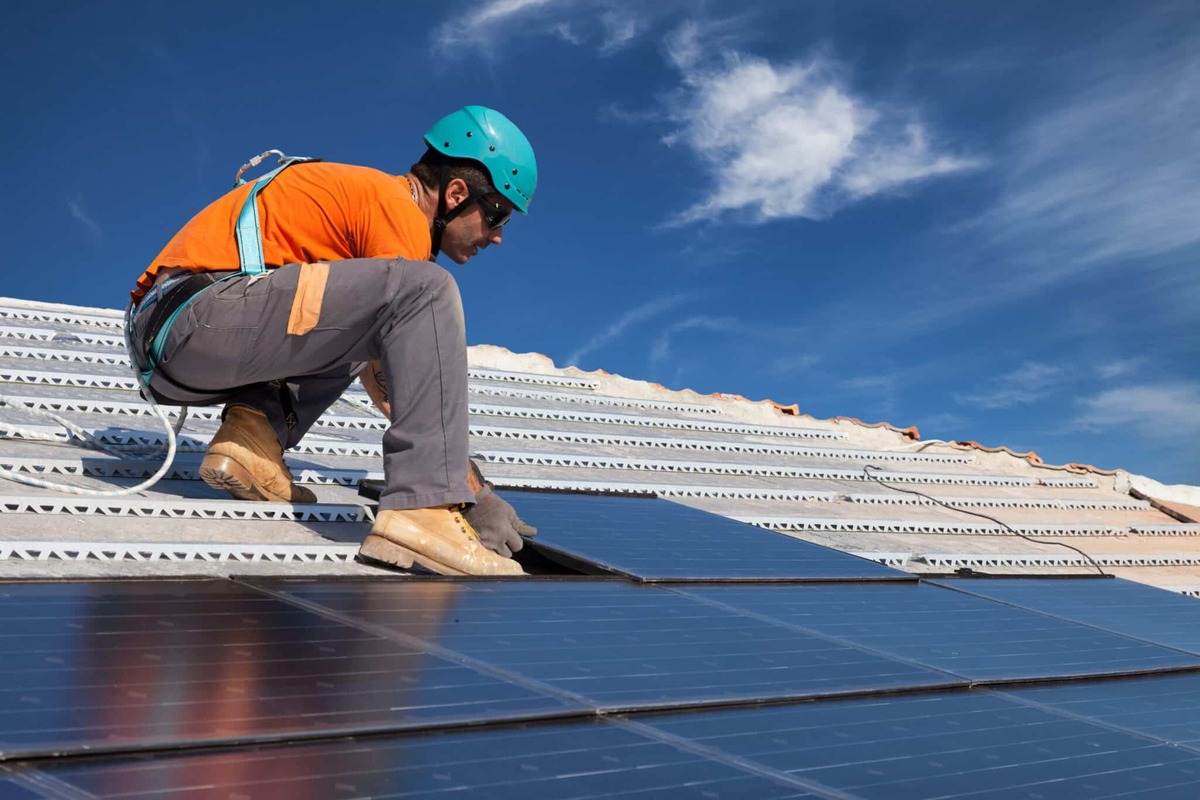
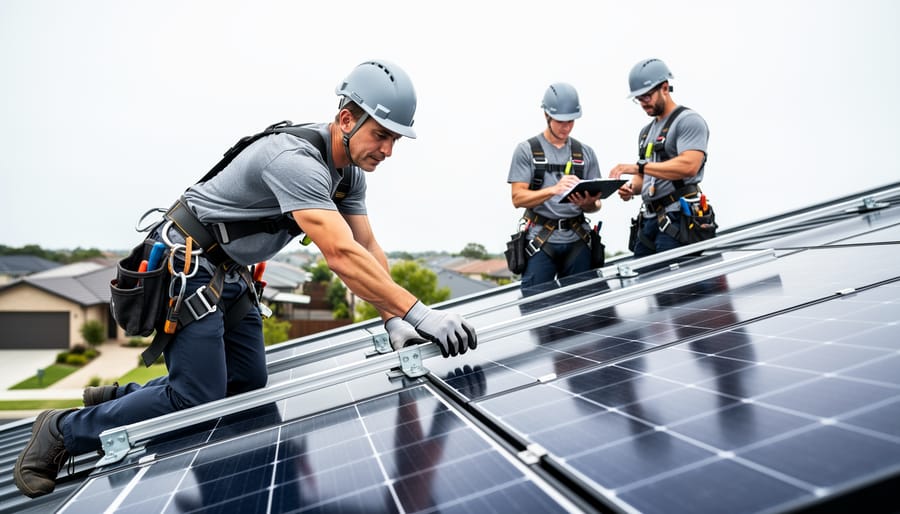
- Safety harness and rope if working on steep or high roofs
- Non-slip shoes with good traction
- Stable ladder rated for your weight plus equipment
- Smartphone or monitoring device to track system performance
If you prefer a hands-off approach for hard-to-reach installations, an extendable washing system lets you clean from the ground without climbing. Some homeowners invest in a deionized water filtration system, which prevents mineral spotting and eliminates the need for drying, useful if you clean frequently or live in an area with hard water.
Equally important is knowing what to skip. Never use abrasive scrubbers, scouring pads, or rough sponges that can scratch the protective glass coating. Pressure washers might seem efficient, but they risk damaging seals and electrical components. Steer clear of harsh chemicals, detergents with additives, or anything with ammonia, these leave residue that attracts dirt and can degrade panel surfaces over time. Skip window cleaners too; they contain compounds that cloud the glass and reduce light absorption. Stick with gentle materials designed for glass surfaces, and you’ll protect your panels while keeping them spotless.
Safety First: Important Precautions Before You Start
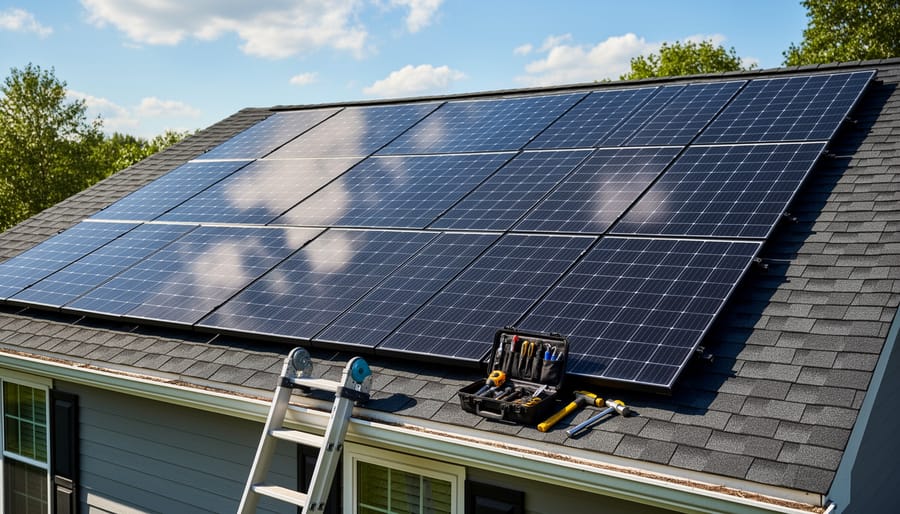
Before you climb onto your roof or touch any part of your solar system, you need to understand the real risks involved. Solar panel maintenance isn’t inherently dangerous, but it does require respect for two major hazards: working at heights and dealing with electrical equipment that’s always generating power during daylight hours.
Start by honestly assessing your comfort level with heights and roof work. If you’re nervous about ladders, have mobility issues, or your roof pitch exceeds 6:12 (a fairly steep slope), this job isn’t for you. Even experienced DIYers should use proper fall protection, including a safety harness anchored to a secure point and non-slip footwear designed for roof work. Check your roof’s condition before you step on it. Look for damaged shingles, soft spots, or areas weakened by age or weather that could give way under your weight.
Weather timing matters more than you might think. Schedule maintenance for cool, overcast days in the morning or late afternoon. Hot panels can burn your skin, and wet conditions create slip hazards and increase electrical risks. Never work on panels during rain, snow, or high winds. If there’s ice anywhere on your roof, wait.
Some tasks simply require professionals. Call an expert if you notice cracked panels, exposed or frayed wiring, inverter error codes you don’t understand, or significant performance drops that persist after cleaning. Any structural concerns with mounting hardware, signs of water intrusion, or work that requires accessing electrical connections should be left to licensed solar technicians. Your safety is worth far more than the service call fee, and most maintenance visits cost between $150 and $300, a small price compared to hospital bills or system damage from amateur repairs.
If you have any doubt about a maintenance task, stop and get professional help. There’s no shame in recognizing the limits of safe DIY work.
The 4-Step Solar Panel Maintenance Process
Step 1: Visual Inspection and Assessment
Start by examining your panels from ground level with binoculars before climbing up. Look for obvious surface damage like cracks, chips, or discoloration, dark spots or yellowing can signal cell degradation that affects how well your panels convert sunlight. Scan the edges and corners where damage often starts, and check for any warping or separation between the glass and frame.
Once you’re safely positioned near the panels, inspect the mounting hardware for rust, loose bolts, or any signs the array has shifted. Check around the edges and underneath for pest activity, bird nests, rodent damage, or wasp colonies can block airflow and create hot spots that reduce efficiency. Look for new shading sources too: a tree branch that’s grown since installation or a neighbor’s addition can significantly impact output even if it only shades a small section.
Examine visible wiring and junction boxes for frayed cables, exposed copper, melted insulation, or water intrusion. These are serious electrical hazards requiring immediate professional attention. Similarly, if you spot cracks wider than a hairline, extensive discoloration covering multiple cells, or any smoking or burning smell, stop and call a licensed solar technician, these indicate failures beyond homeowner maintenance.
Head to your inverter and check its display panel for error codes or warning lights. Most systems show a green light during normal operation; red or flashing indicators mean trouble. Log into your monitoring app and compare current production against historical averages for similar weather conditions. A sudden drop of more than fifteen percent suggests an issue that visual inspection alone might miss, helping you understand how solar panels work when they’re underperforming.
Step 2: Cleaning the Panel Surface
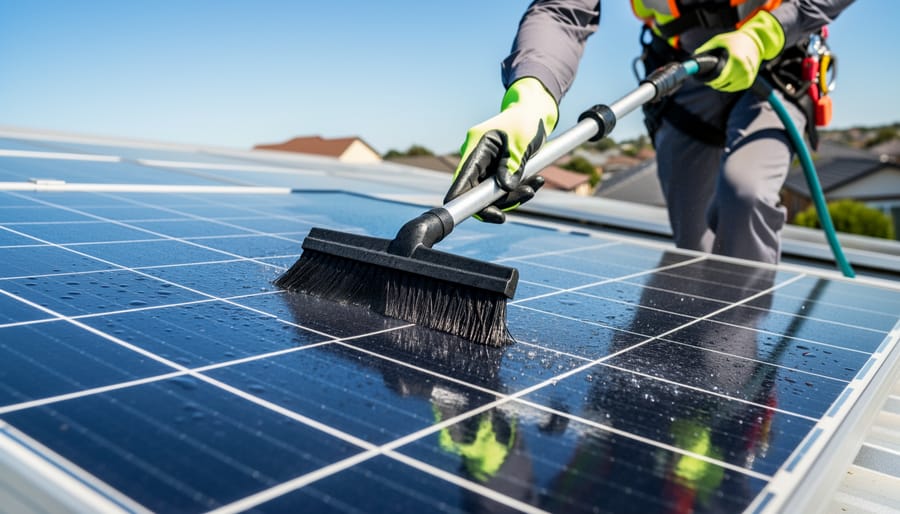
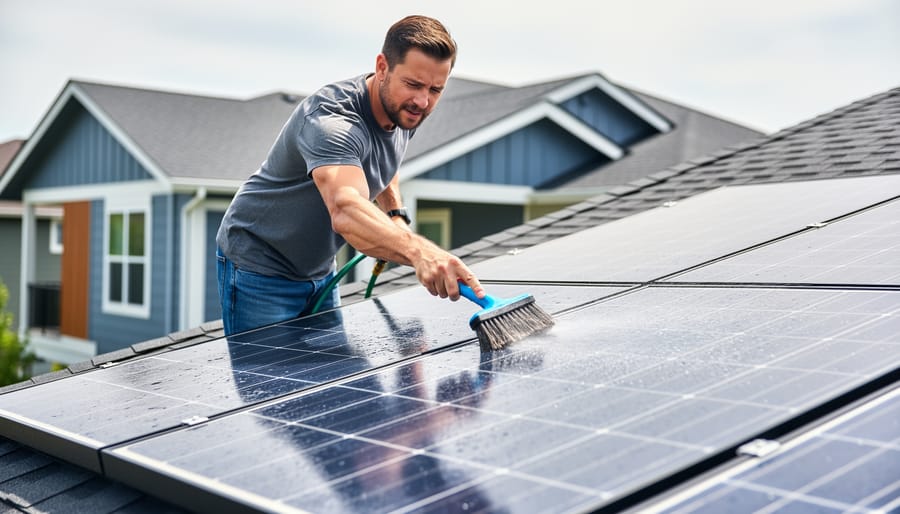
Start with the simplest approach: plain water. On a cool morning or overcast day, spray your panels from bottom to top using a garden hose with a gentle spray nozzle. This removes most loose dirt, pollen, and dust without any cleaning solution. Let the water do the work, soaking stubborn spots for a minute before rinsing makes removal easier.
For caked-on bird droppings, tree sap, or grime that water alone won’t shift, mix a few drops of pH-neutral dish soap in a bucket of lukewarm water. Dip a soft-bristled brush or squeegee into the solution and gently scrub in straight lines across the panel surface. Work methodically across each panel rather than scrubbing in circles, which can leave streaks. Never use abrasive sponges, steel wool, or harsh chemicals, they’ll scratch the protective glass coating and reduce efficiency permanently.
Rinse thoroughly with clean water immediately after washing. Soap residue attracts dirt and creates a film that blocks sunlight, defeating the entire purpose. Pay extra attention to panel edges and frames where grime accumulates.
Regional conditions demand adapted techniques. In dust-prone desert areas, monthly rinsing prevents buildup that hardens into a stubborn layer. During high pollen seasons in the Southeast or Midwest, increase cleaning frequency to every few weeks. For snow removal, use a soft foam roof rake designed for solar panels, never metal shovels or ice scrapers that will crack the glass. Let thin snow layers melt naturally when possible; they often slide off on their own as panels warm slightly in sunlight.
The biggest mistake? Cleaning panels during midday heat. Rapid temperature changes from cold water on hot glass can cause micro-cracks. Stick to early morning or evening sessions when panels are cool to the touch.
Step 3: Checking Connections and Hardware
Once your panels are clean, turn your attention to the physical components that keep your system secure and functioning. This inspection focuses on what you can safely assess without specialized electrical knowledge.
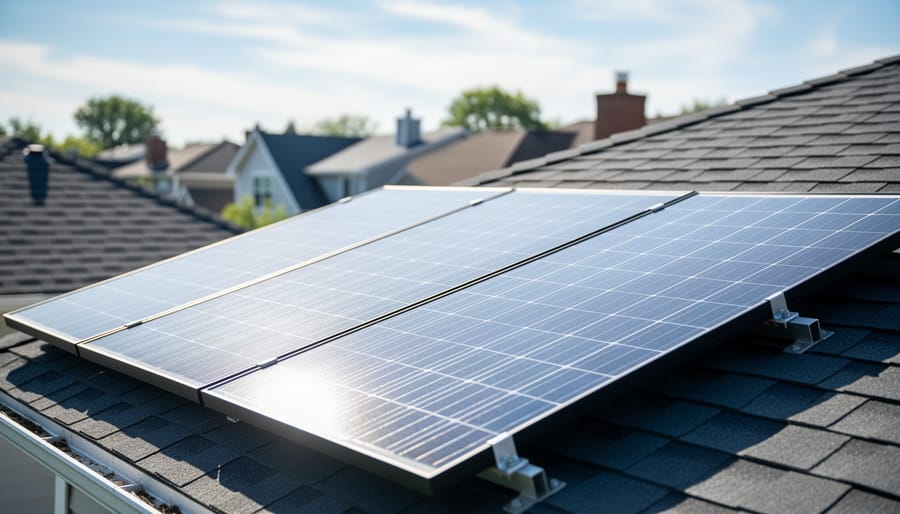
Start by examining the mounting hardware that holds your panels in place. Look for loose bolts, corroded clamps, or any signs that the racking system has shifted. Gently check that panels feel stable without forcing or tugging. If you spot rust or deterioration on metal components, note it for professional evaluation.
Next, visually scan any visible wiring and conduit. You’re looking for frayed insulation, exposed copper, or cables that have pulled loose from clips. Check that weather seals around penetration points appear intact with no cracks or gaps. Never touch exposed wires or attempt repairs yourself.
Junction boxes mounted behind or beneath panels should sit flush and secure. From ground level or a safe vantage point, confirm that covers are properly fastened and show no signs of moisture intrusion or scorching. These are sealed electrical components requiring a licensed electrician for any service.
Your inverter deserves a quick check too. Most display status lights or error codes. Consult your manual to understand what normal operation looks like. Listen for unusual buzzing or humming. If you have a battery system, verify that connections appear tight and terminals show no corrosion, but leave any maintenance to qualified technicians.
If anything looks questionable, photograph it and contact a solar professional. Electrical systems demand expertise and proper safety protocols that go beyond routine homeowner maintenance.
Step 4: Documentation and Performance Monitoring
Tracking your maintenance efforts transforms sporadic cleaning into strategic system care. Start by creating a simple maintenance log, whether digital or paper, that records each service date, weather conditions, and work completed. This timeline helps you identify patterns and optimize your schedule.
Before you clean, note your current energy output from your inverter display or monitoring app. Many systems include manufacturer-provided apps that track real-time production, historical data, and system health alerts. Check your baseline production for the same time of day and similar weather conditions. After completing maintenance, monitor output over the next few sunny days to measure improvement. Expect a 5-15% efficiency boost if your panels were noticeably dirty.
Photograph anything unusual during inspection, cracked cells, corroded connections, wildlife damage, or new shading from tree growth. These images create a visual history that helps professionals diagnose problems remotely and provides evidence for warranty claims if needed. Date-stamp each photo and organize them by maintenance session.
Watch for red flags in your performance data that indicate deeper problems beyond surface dirt. A sudden 20%+ drop in output, inconsistent production across identical panels, or declining efficiency despite regular cleaning warrants professional evaluation. Inverter error codes, persistent underperformance compared to neighbors with similar systems, or output that doesn’t improve post-cleaning all signal issues requiring expert diagnosis.
Most monitoring systems let you set alerts for production thresholds, making it easy to catch problems early. This documented approach turns maintenance from a chore into a performance optimization strategy.
How to Verify Your Maintenance Worked
After you’ve finished maintaining your solar panels, it’s natural to wonder whether your effort made a difference. The good news is that verification is straightforward, and you should notice measurable improvements within a few days of cleaning and inspection.
Start by comparing your system’s energy output to the baseline you recorded before maintenance. Check your monitoring app or inverter display for the daily kilowatt-hour production. Under similar weather conditions, you should see an increase of 5-15% if your panels were moderately dirty. Heavily soiled panels in dusty or pollen-heavy areas can show even greater improvements, sometimes up to 25%, while panels that were already relatively clean might only gain a few percentage points.
Perform a simple visual verification by looking at the panels from ground level on a sunny day. Clean panels should have a uniform, deep blue or black appearance with no visible streaks, spots, or film. If you can still see dirt accumulation or water spots, you may need to repeat the cleaning process with more thorough rinsing.
Your maintenance checklist should confirm these key indicators:
- Energy output matches or exceeds pre-maintenance levels under comparable sunlight conditions
- Panel surfaces appear uniformly clean with no visible debris or residue
- System monitoring data shows stable performance with no error codes or warnings
- Inverter display confirms normal operation and expected power conversion rates
- No loose connections, corrosion, or physical damage identified during inspection
Give your system three to five sunny days to establish a new performance baseline. Weather variations can affect daily output, so compare weekly averages rather than single-day snapshots. Most monitoring systems let you view historical data in graph form, making it easy to spot the improvement curve after maintenance.
If you’ve completed thorough maintenance but still see declining performance, error messages, or output below manufacturer specifications, the issue likely extends beyond routine cleaning. This signals it’s time to contact a qualified solar technician who can diagnose electrical problems, inverter failures, or panel degradation that requires professional repair.
Maintenance Frequency: How Often Should You Service Your Panels?
Most homeowners can keep their solar panels performing efficiently with a twice-yearly cleaning schedule, once in spring after pollen season and once in fall before winter arrives. However, your actual maintenance frequency depends heavily on where you live and what your panels face daily.
Desert and arid climates demand quarterly cleanings due to dust accumulation that can reduce output by 15-20% between washes. Coastal properties should inspect and clean every two to three months because salt spray creates a stubborn film that blocks sunlight and accelerates corrosion on hardware. Urban and industrial areas benefit from quarterly maintenance to combat pollution residue and particulate buildup.
If you notice a 5% or greater drop in energy production compared to similar weather periods, check your panels sooner than scheduled. Heavy pollen seasons, nearby construction, frequent bird activity, or storms with wind-blown debris all signal it’s time for an unscheduled cleaning. Rural settings with minimal pollution might stretch to annual maintenance, though biannual checks remain safer for protecting your investment.
Your panel type comparison matters too, some panel surfaces resist dirt better than others, potentially reducing cleaning frequency. Track your system’s output through monitoring apps and establish a baseline during clean conditions. When production dips noticeably or visible grime accumulates, don’t wait for your regular schedule. The small effort of more frequent cleaning in challenging environments pays off through sustained efficiency and longer panel lifespan.
Common Solar Panel Maintenance Questions
Can I maintain my solar panels myself, or do I need a professional?
Most homeowners can handle basic cleaning and visual inspections safely. However, if you’re uncomfortable working on your roof, notice electrical issues, or your warranty requires professional servicing, it’s worth hiring a qualified solar technician.
Will cleaning my panels void the warranty?
Generally, no. Proper maintenance with appropriate methods and materials won’t void your warranty. In fact, many manufacturers require regular cleaning to maintain coverage. Always check your specific warranty terms before starting any maintenance.
How much does professional solar panel maintenance cost?
Professional cleaning and inspection typically runs between $150 and $330 per visit, depending on system size and roof accessibility. Annual maintenance contracts often offer better value if you prefer ongoing professional care.
Does rain clean solar panels adequately?
Rain helps, but it doesn’t replace proper cleaning. Rain can rinse away loose dust, yet it leaves behind mineral deposits, pollen residue, and bird droppings that reduce efficiency over time.
How should I handle snow on my panels?
Light snow often slides off on its own as panels warm up. For heavy accumulation, use a soft roof rake from the ground rather than climbing up. Never use sharp tools or hot water, which can crack the glass.
Is regular maintenance really worth the time and effort?
Absolutely. A well-maintained system can last 25 to 30 years and operate at peak efficiency, while neglected panels lose 15 to 25 percent of their output. The small time investment protects your financial return and environmental impact.
Beyond these common questions, many homeowners wonder about the long-term value of establishing a maintenance routine. Think of it like changing your car’s oil: skipping it won’t break the system immediately, but consistent care prevents costly problems and extends lifespan. Your panels represent a significant investment in clean energy, and a few hours of attention each year ensures they deliver maximum performance for decades.
The key is finding a rhythm that works for your schedule and comfort level. Some homeowners prefer quarterly visual checks with biannual cleaning, while others opt for annual professional service combined with occasional spot cleaning after storms or heavy pollen seasons. Either approach works, as long as you stay consistent and address issues promptly when they arise.
Yes, solar panels do need maintenance, but as you’ve seen, it’s far simpler than most homeowners expect. A few hours twice a year can protect the thousands you invested in clean energy and keep your system running at peak efficiency for decades. The routine you’ve learned here isn’t just about wiping off dirt; it’s about safeguarding a major financial and environmental asset that pays dividends every sunny day.
Start by setting calendar reminders for your seasonal maintenance sessions, and don’t skip the performance monitoring between cleanings. Most issues are easy to spot if you’re paying attention. However, if you encounter persistent efficiency drops, visible damage, or electrical concerns, that’s when it’s time to bring in the pros. A qualified local installer can handle complex repairs safely and often preserve your warranty coverage.
While you’re investing time in maintenance, make sure you’re also maximizing your system’s financial benefits. If you haven’t explored available incentives, check whether a solar energy certificate applies in your area, these programs can add substantial value to your solar investment. Your panels are working hard for you; a little maintenance ensures they’ll keep delivering clean, cost-effective power for 25 years or more.