Tesla Solar Roof installation requires professional certification and cannot be done as a DIY project. The process typically takes five to ten days depending on your roof’s complexity, with costs ranging from $60,000 to $150,000 for an average-sized home after accounting for federal tax credits and local incentives available in 2026.
Here’s what makes Tesla Solar Roof different from traditional solar panels: instead of mounting panels on top of your existing shingles, certified installers completely replace your roof with tempered glass tiles that generate electricity while protecting your home. Understanding how solar energy works helps explain why these photovoltaic tiles need precise electrical integration that only Tesla-certified contractors can legally perform.
The installation process involves structural assessment, obtaining permits, removing your old roof, installing the solar tiles and Powerwall battery system, then final inspection. You can’t skip the professionals on this one. Tesla requires contractors to complete specialized training and maintains strict quality standards throughout the installation.
What you can control is choosing the right time to install, understanding your financing options, and preparing your property properly. Most homeowners see their investment pay for itself within 15 to 25 years through energy savings, though actual returns depend on your location’s electricity rates and sun exposure.
This guide walks you through every phase of professional Tesla Solar Roof installation so you know exactly what to expect, from your first consultation through the final utility connection.
What You Need Before Installing Tesla Solar Shingles
Before Tesla can begin your Solar Roof installation, you’ll need to complete several critical steps that determine both eligibility and project readiness. Unlike conventional solar panel installations, Tesla Solar Shingles require more extensive preparation because they replace your entire roof rather than mounting on top of it.
Site Assessment and Structural Evaluation
Tesla starts with a detailed site assessment that examines your roof’s orientation, pitch, shading, and solar exposure potential. Your roof must meet specific structural requirements to support the solar tiles, which weigh approximately 8 pounds per square foot, heavier than standard asphalt shingles but comparable to slate or tile roofing. A structural engineer may need to evaluate your roof deck and framing, especially for older homes, and any needed reinforcements must be completed before installation can proceed.
Your roof’s complexity directly affects eligibility. Simple roof designs with minimal valleys, skylights, or architectural features work best. Roofs with numerous dormers, steep pitches above 9:12, or significant shading from nearby trees may not qualify or will require design modifications that increase costs.
Permits and Utility Approvals
You’ll need building permits from your local jurisdiction, which typically require engineered plans showing electrical connections, structural load calculations, and roof assembly details. Tesla handles most permitting, but processing times vary from two weeks to several months depending on your location.
Utility company approval is separate and equally important. You’ll need an interconnection agreement that allows your system to feed excess power back to the grid. Some utilities require equipment inspections or upgraded meters before granting permission to operate.
Pre-Installation Checklist
Before your installation date, confirm you have:
- Copy of your current electric bill for accurate system sizing
- Roof age and condition documentation (photos help)
- Homeowners insurance policy reviewed for solar roof coverage
- HOA approval if applicable (some communities restrict roof appearance)
- Final Tesla contract with deposit paid
- Clear access path to roof and electrical panel
- Updated homeowner’s insurance reflecting the increased property value
Tesla also requires payment arrangements established before work begins, whether through cash purchase, loan approval, or lease agreement. The company conducts a credit check for financing options, and approved financing must be in place before scheduling your installation crew.
Ground-level access to your electrical panel is essential, installers need clear workspace around it for inverter connections. If your panel is outdated or lacks capacity for the solar system, you’ll need an electrical panel upgrade completed beforehand.
Tools, Materials, and Professional Requirements
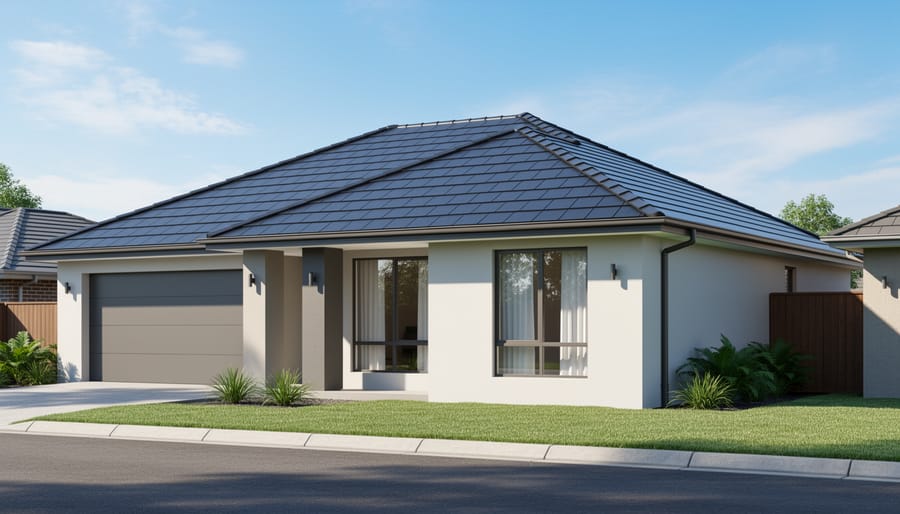
Tesla Solar Roof installation requires a complex array of specialized tools and Tesla-proprietary components that go far beyond standard roofing or solar equipment. Unlike conventional solar panel systems that mount on existing roofs, Tesla’s integrated approach combines roofing and solar generation into a single product, demanding installers who hold both roofing expertise and advanced solar electrical credentials.
Tesla-certified installers use proprietary mounting hardware, custom flashing systems, and specialized tile-cutting tools designed specifically for the glass solar tiles. The electrical work involves Tesla’s inverter systems, Powerwall battery integration (when included), and monitoring equipment that connects to Tesla’s cloud-based management platform. Installers need access to Tesla’s technical specifications, installation manuals, and support channels that aren’t available to the general public.
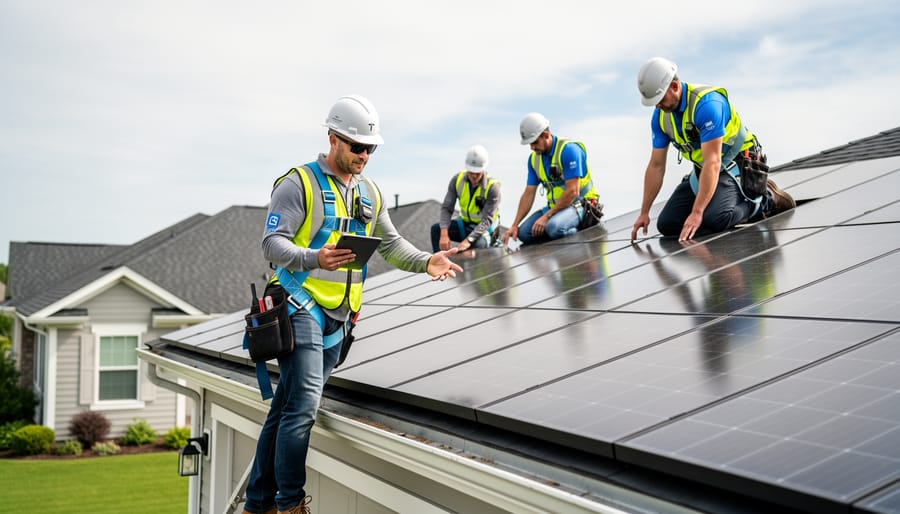
The certification process requires contractors to complete Tesla’s rigorous training program covering both the roofing and electrical aspects of the system. Certified crews must hold appropriate state electrical and roofing licenses, carry substantial liability insurance (typically $2 million or more), and demonstrate experience with complex residential electrical systems. Tesla vets these contractors directly and monitors their work quality through customer feedback and inspection protocols.
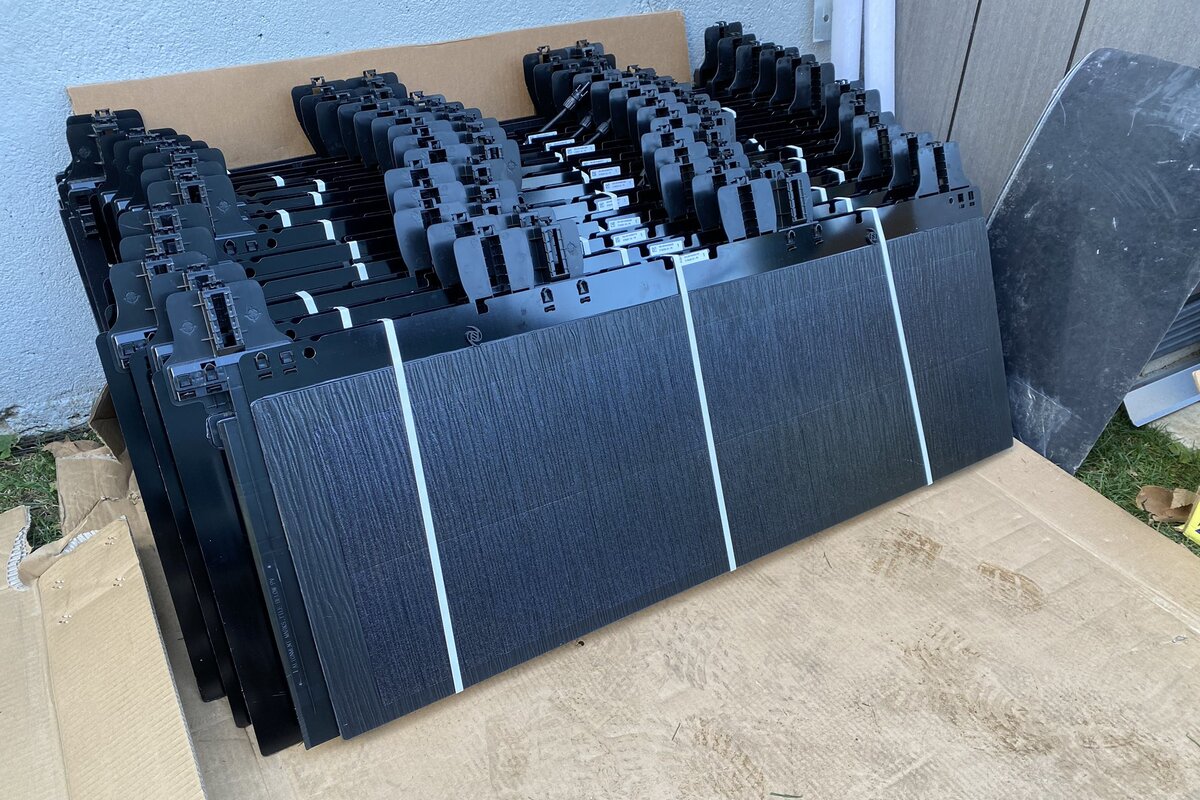
The materials list includes active solar tiles for south-facing or optimal-exposure roof planes, inactive architectural tiles for shaded areas or north-facing sections, custom ridge caps, valley flashing, and Tesla’s weatherproofing underlayment system. The electrical components comprise the inverter (often the Tesla Solar Inverter), junction boxes, conduit, mounting rails hidden beneath the tiles, and all wiring that connects the roof array to your home’s electrical panel. Most installations also integrate at least one Powerwall battery for energy storage and backup power capability.
This specialized equipment and certification requirement explains why Tesla Solar Roof costs more than traditional solar panels, you’re paying for an entirely new roof system with integrated solar technology, not just panels added to your existing structure.
Safety Considerations and Important Warnings
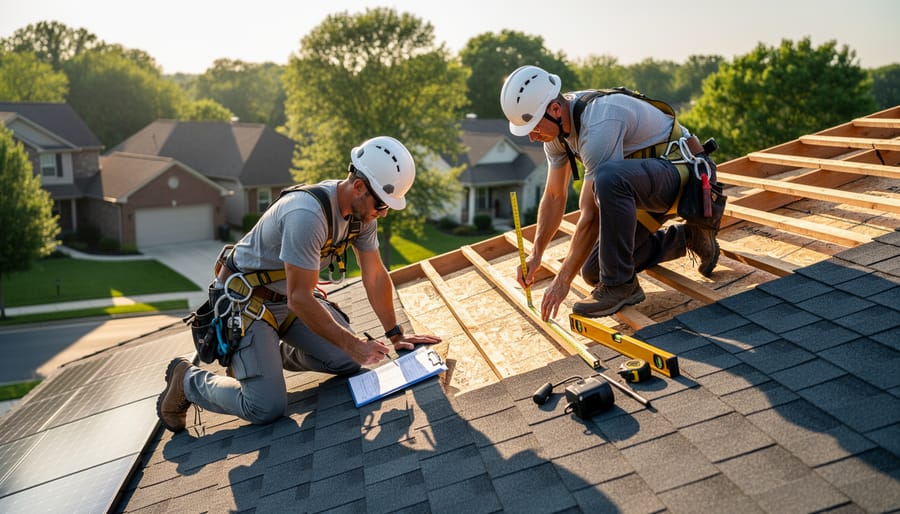
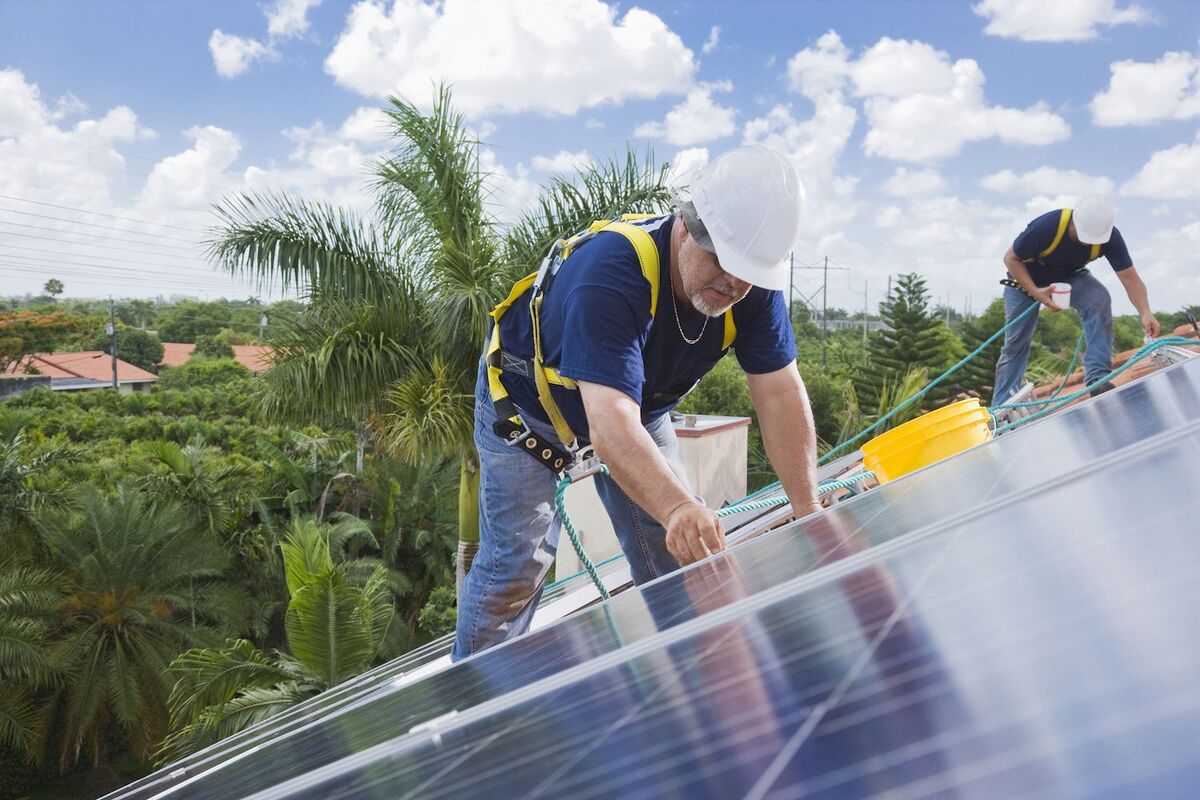
Tesla Solar Roof installation involves serious electrical and fall hazards that require professional expertise and strict safety protocols. While you won’t be performing this work yourself, understanding these risks helps you verify your installation team follows proper procedures and knows when conditions aren’t safe to proceed.
The most critical danger is working with high-voltage DC electrical systems on a steep, elevated surface. Solar tiles generate electricity whenever exposed to light, creating live circuits during installation that can deliver fatal shocks if mishandled. Certified installers use lockout/tagout procedures, insulated tools, and PPE rated for electrical work, but even professionals face serious injury risk without constant vigilance. Understanding the basic solar diagram of how power flows from tiles through inverters helps you appreciate why touching the wrong component at the wrong time can be lethal.
Structural risks extend beyond falls. Your roof deck must support not just workers and equipment during installation, but the permanent weight of Tesla tiles, which run heavier than asphalt shingles. Installers should verify load-bearing capacity before starting and refuse to proceed if they find rot, inadequate framing, or structural defects that compromise integrity. Weather creates additional hazards, morning dew makes tiles slippery, afternoon heat causes rapid dehydration, and changing forecasts can trap crews mid-installation when waterproofing is incomplete.
Red flags include installers rushing through safety checks, working in unsuitable conditions, skipping harness systems, or pressuring you to approve shortcuts. Legitimate Tesla-certified crews prioritize safety over speed and will reschedule rather than risk injury or improper installation that voids your warranty.
The Tesla Solar Shingles Installation Process: Step by Step
Step 1: Roof Removal and Structural Preparation
The installation begins with complete removal of your existing roof down to the deck. Tesla-certified crews systematically strip away old shingles, underlayment, flashing, and ventilation components. Unlike traditional solar panel installations that work over existing roofing, the Solar Roof requires a bare deck to integrate tiles properly.
Once exposed, installers conduct a thorough structural inspection. They check for rot, water damage, sagging rafters, and inadequate spacing between supports. Tesla’s system adds roughly 3 pounds per square foot compared to standard asphalt shingles, so the deck must handle this load. Any compromised plywood or OSB sheathing gets replaced with new materials that meet local building codes.
Structural reinforcement happens now if needed. Installers may add blocking between rafters, sister joists for extra support, or replace entire sections of decking. They’ll also verify proper roof slope, Tesla requires a minimum 2:12 pitch, and confirm adequate drainage paths. This preparation phase typically takes 2-3 days for an average-sized home, though extensive repairs can extend this timeline considerably.
Step 2: Installing Underlayment and Weatherproofing
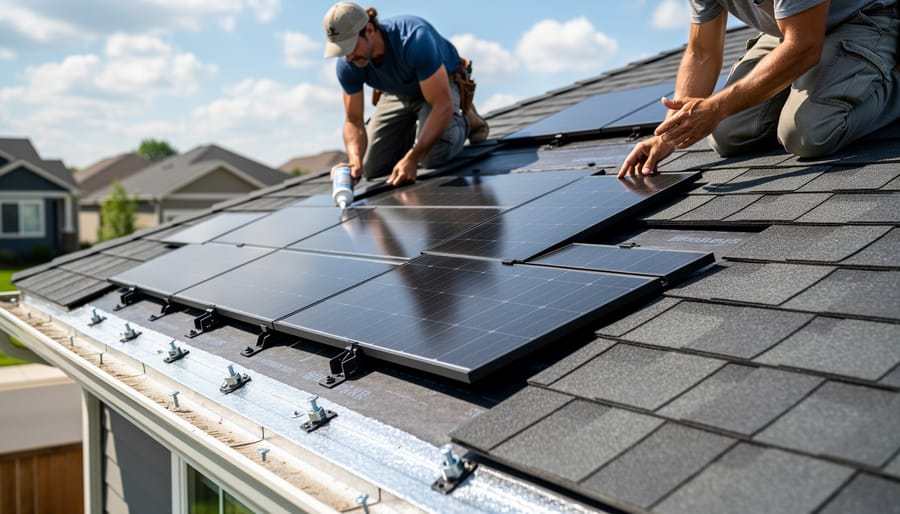
Once the roof deck is clean and structurally sound, your Tesla-certified installers will apply multiple layers of weatherproofing to create a watertight barrier beneath the solar tiles. This step is critical, no matter how well the tiles perform, your roof’s longevity depends on what’s underneath them.
The crew starts by rolling out synthetic underlayment across the entire roof deck, typically working from the eaves upward. Unlike traditional felt paper, Tesla requires high-performance synthetic materials that won’t degrade under the solar tiles. In vulnerable areas, valleys, eaves, and around roof penetrations, they’ll apply self-adhering ice and water shield, a rubberized membrane that seals around nail penetrations and prevents water intrusion even in extreme weather.
Tesla’s system also includes integrated flashing and custom weatherproofing components designed specifically for their tiles. These aren’t standard roofing materials; they’re engineered to work with the Solar Roof’s electrical connections and mounting system. Your installers will seal every seam, overlap, and transition point, creating redundant protection layers.
This phase usually takes one to two days, depending on roof complexity and weather conditions. Expect the crew to pause if rain threatens, proper adhesion requires dry surfaces.
Step 3: Mounting Solar and Non-Solar Tiles
After completing the underlayment and weatherproofing, installers begin laying the Tesla tiles themselves, a carefully orchestrated mix of active solar tiles and inactive architectural tiles designed to create a uniform appearance while maximizing energy production.
Installers start at the eaves and work upward, following Tesla’s specific installation patterns. Active solar tiles go on roof planes with optimal sun exposure, typically south-facing sections in the northern hemisphere and areas with minimal shading. Inactive tiles, which look identical but don’t generate power, fill in north-facing slopes, shaded areas, and sections where running electrical connections would be impractical.
Each tile interlocks with adjacent tiles using Tesla’s proprietary mounting system, creating both mechanical strength and electrical continuity. Solar tiles connect to hidden wiring channels that run beneath the tile surface, keeping all electrical components protected from weather while maintaining the roof’s clean aesthetic.
Installers must follow precise spacing requirements to ensure proper water runoff and tile engagement. They’ll also integrate flashing around roof penetrations like vents and chimneys, using Tesla-compatible components that match the tile profile.
This phase demands meticulous attention to layout, once tiles are secured, repositioning becomes difficult. Experienced crews work methodically across the roof, verifying alignment and electrical connections as they progress to prevent issues that would require removal and reinstallation.
Step 4: Electrical Integration and Inverter Installation
Once all tiles are mounted, certified electricians transition from roofing to wiring, connecting each solar tile array to Tesla’s inverter system. The installation team runs weatherproof electrical conduit from rooftop junction boxes down to the inverter location, typically mounted near your main electrical panel or in a garage. Tesla Solar Roof uses specialized inverters designed specifically for their tile system, converting DC power from the tiles into AC electricity your home can use.
If your installation includes a Powerwall battery, electricians mount it on an interior or exterior wall and integrate it into the energy flow between the solar system and your home. The Powerwall sits between the solar inverters and your electrical panel, automatically storing excess energy during sunny periods and supplying power when needed. Installers connect the Powerwall to a dedicated sub-panel that powers critical circuits during grid outages.
The final integration connects everything to your home’s main electrical panel through a properly sized circuit breaker. Electricians install production meters that track solar generation and a backup gateway that manages energy flow between solar, battery, grid, and home loads. Every connection must meet National Electrical Code standards and local requirements.
This phase demands precision, improper electrical work creates fire hazards and voids warranties. Tesla requires all electrical integration to be performed by licensed electricians familiar with their system architecture.
Step 5: System Testing and Quality Checks
Once the electrical integration is complete, your installer conducts comprehensive system testing to verify everything works as designed. They’ll use specialized equipment to measure voltage, current, and power output from each solar tile array, ensuring the system generates electricity within Tesla’s specified parameters. This isn’t a quick visual check, expect your installation team to spend several hours running diagnostic tests through the Tesla app and monitoring system.
The quality inspection covers three critical areas. First, electrical performance testing confirms all circuits function correctly and the inverter communicates properly with the solar tiles. Second, installers physically inspect every tile to verify secure mounting, proper alignment, and correct positioning. They’ll check that flashing around penetrations is watertight and that all tile edges interlock correctly. Third, they conduct a weatherproofing assessment, looking for any gaps or vulnerabilities that could allow water infiltration.
Your installer documents all test results and takes photos for Tesla’s final approval. Any tiles showing performance issues get replaced before moving forward, and the team rechecks all affected areas to maintain system integrity.
Step 6: Inspection, Approval, and Grid Connection
After your installer completes testing and quality checks, the system enters the final approval phase before you can start generating power. Your building department will dispatch an inspector to verify the installation meets electrical and structural codes. This typically involves checking the electrical connections, confirming proper grounding, and ensuring the roof attachment meets local building standards.
Once the municipal inspection passes, your installer submits interconnection paperwork to your utility company. The utility reviews your system’s specifications and may conduct their own inspection to verify it won’t cause grid issues. This process leads to your utility Permission to Operate (PTO), the official authorization to connect your solar roof to the grid.
Timeline matters here. Municipal inspections often happen within days, but utility PTO can take anywhere from two weeks to two months depending on your provider’s workload and interconnection queue. Some utilities process applications faster than others. Your installer typically handles all the paperwork and coordination, but you’ll receive copies of approval documents for your records. Until you receive PTO, your system remains offline even if fully installed and tested.
Verifying Your Installation and System Activation
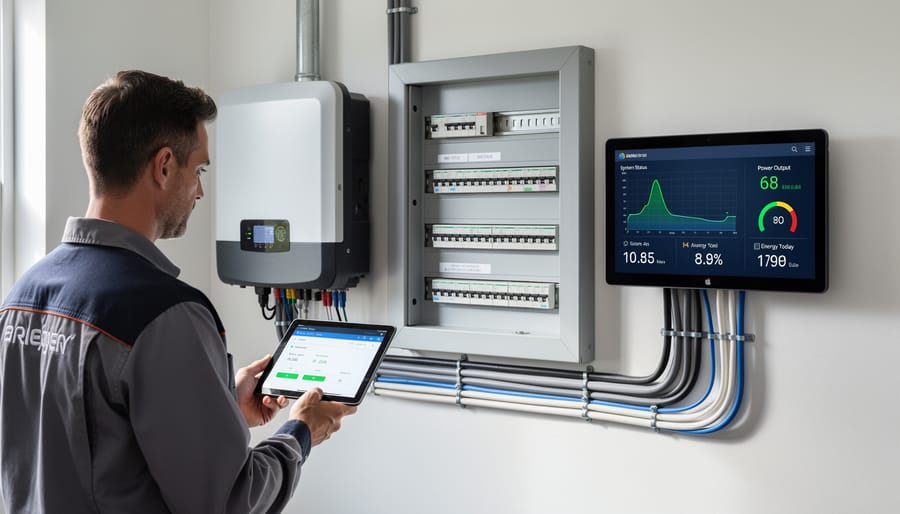
Once your Tesla Solar Roof installation is complete and you’ve received permission to operate, you’ll want to verify that everything is functioning as designed. Start by downloading the Tesla app, which serves as your primary monitoring interface. The app displays real-time energy production, consumption, and battery charge levels if you have a Powerwall installed. You should see power generation begin immediately on sunny days, with output varying based on time of day and weather conditions.
Within the first week, confirm these essential performance indicators:
- Solar tiles are producing power during daylight hours, with peak output around midday
- The Tesla app shows accurate energy flow between your roof, home, battery, and grid
- Your utility meter runs backward when you’re producing more energy than you’re consuming
- No error messages appear in the Tesla app or on your inverter display
- All electrical connections remain secure with no visible damage or loose wiring
Your system should generate energy proportional to available sunlight. If you notice zero production on a clear day, flat output curves, or persistent error codes, contact your Tesla-certified installer immediately rather than attempting repairs yourself.
Some states require a solar energy certificate or similar documentation verifying your system meets grid interconnection standards, so confirm you’ve received all necessary paperwork from your installer.
For ongoing monitoring, check the Tesla app weekly during the first month to establish your baseline production patterns. Compare your actual output against Tesla’s initial production estimates, accounting for seasonal variations and local weather. Most Tesla Solar Roof systems require minimal maintenance beyond occasional visual inspections and letting rain naturally clean the tiles.
Timeline and What to Expect During Installation
From signing your contract to flipping the switch, a Tesla Solar Roof installation typically takes three to six months. The actual roof work itself usually spans two to four weeks, but permit approvals, utility interconnection agreements, and inspection scheduling account for most of the waiting time.
Here’s what happens in each phase. After you sign, Tesla’s design team finalizes your system specifications and submits permit applications to your local building department, expect four to eight weeks for approval, though some jurisdictions move faster. Once permits arrive, Tesla schedules your installation crew. The physical work breaks down into roof removal (two to five days), tile installation (one to two weeks), and electrical integration (three to five days). Weather significantly impacts this timeline; rain, snow, or extreme heat can halt work for days or weeks.
After installation wraps, a building inspector must sign off, usually within one to two weeks of scheduling. Then your utility company reviews the interconnection application and grants permission to operate, which takes anywhere from two weeks to two months depending on the utility’s backlog. Some utilities in California and Texas process applications within days, while others drag past eight weeks.
Complex roof geometries, structural repairs, or Tesla solar shingles pricing negotiations that require design revisions can add weeks to the front end. Peak installation season (spring and summer) may also push your start date out. Stay in regular contact with Tesla’s project coordinator to track progress through each checkpoint.
Costs, Incentives, and Financing for 2026
Tesla Solar Roof represents a significant investment, with costs for an average 2,000-square-foot home typically ranging from $55,000 to $75,000 before incentives. This solar shingles cost includes both the solar tiles and non-solar architectural tiles, installation, inverters, and often a Powerwall battery. The final price depends on your roof’s complexity, pitch, number of dormers, and the percentage of active solar tiles versus inactive tiles.
The federal solar Investment Tax Credit (ITC) remains available in 2026, allowing you to claim 30% of your total system cost as a tax credit. For a $60,000 installation, that’s $18,000 back, effectively reducing your net cost to $42,000. This credit applies to the complete integrated system, roofing materials and solar components, since Tesla Solar Roof serves as both your weatherproofing structure and energy generation system.
Many states offer additional incentives. California’s SGIP program provides battery storage rebates. New York’s Megawatt Block incentive program adds performance-based payments. Several states, including New Jersey and Massachusetts, have Solar Renewable Energy Credit (SREC) programs that generate ongoing income from your system’s production. Property tax exemptions in states like Florida and Texas prevent your home’s assessed value increase from raising property taxes.
Financing options include Tesla’s own loan programs, home equity loans, PACE financing (where available), and specialized solar loans from lenders. Tesla offers 10- and 20-year financing with competitive rates, though cash purchases maximize long-term savings. Some utility companies provide on-bill financing or special solar loan programs. Compare total interest costs across options, a slightly higher rate on a shorter term often costs less over time than extended low-rate financing.
Frequently Asked Questions
Can I install Tesla Solar Roof myself to save money?
No, Tesla requires all installations to be performed by Tesla-certified installers who have completed specialized training on the unique tile system, electrical integration, and weatherproofing requirements. DIY installation voids the warranty and violates local electrical codes in most jurisdictions.
What warranty does Tesla provide on Solar Roof installation?
Tesla offers a 25-year warranty on power generation and weatherproofing for the tiles themselves, plus a 10-year warranty on the Powerwall battery if included. The roof installation workmanship is typically covered for two years, though this varies by installer and location.
Will Tesla Solar Roof work on my existing roof structure?
Tesla Solar Roof requires a structurally sound roof deck that can support the tile weight, which is comparable to traditional roofing materials. Your roof must also have adequate solar access and be compatible with Tesla’s tile installation system, which a site assessment determines before any work begins.
How does Tesla Solar Roof compare to standard solar panels on cost and performance?
Tesla Solar Roof costs roughly two to three times more than traditional solar panels when installed on an existing roof, but the price gap narrows if you need a roof replacement anyway since you’re getting both a new roof and solar system. Performance per watt is generally comparable to quality solar panels, though the aesthetic integration is the primary differentiator.
Beyond these core concerns, homeowners often wonder about the impact on home resale value. While comprehensive studies specific to Tesla Solar Roof remain limited given its relatively recent market entry, the combination of a premium roof and solar system typically adds value to properties in markets where solar adoption is common. The integrated design appeals to buyers who want clean energy without the traditional panel appearance, though appraisers may struggle to assign precise value given the limited comparable sales data.
Another frequent question centers on winter performance and snow accumulation. Tesla Solar Roof tiles function in cold weather and can generate power through light snow cover, though heavy accumulation blocks generation just as it would with traditional panels. The tiles generate some heat during operation which can help with minor snow melt, but you should never climb on the roof to clear snow yourself. Most Tesla-certified installers recommend letting snow melt naturally or using a roof rake from the ground if safe access allows.
Maintenance requirements surprise many homeowners who expect a high-tech system to need constant attention. Tesla Solar Roof actually requires minimal upkeep beyond what any quality roof needs: occasional inspection for debris, keeping valleys and gutters clear, and monitoring system performance through the Tesla app. The tiles are designed to self-clean with rain, and the lack of mounting hardware eliminates the corrosion concerns that affect some traditional solar installations over time.
Installing Tesla Solar Shingles transforms your roof into a clean energy generator, but it’s not a project you can tackle yourself. From structural preparation to electrical integration and grid connection, every phase requires specialized training, Tesla certification, and professional-grade equipment. The process typically spans several weeks and involves multiple inspections, permits, and utility approvals, none of which a DIY approach can navigate successfully.
What matters most is choosing the right installer. Tesla-certified professionals understand the unique requirements of Solar Roof installation, from properly mixing active and inactive tiles to integrating Powerwall systems and ensuring weatherproof performance. They’ll handle permits, coordinate inspections, and get your system approved for operation while protecting both your investment and your home’s structural integrity.
Ready to move forward? Ask Solar connects you with local Tesla-certified installers who can assess your property, provide accurate quotes, and answer questions specific to your situation. You’ll get personalized guidance on costs, timelines, available incentives, and financing options, all from professionals who’ve completed hundreds of Solar Roof installations. Don’t navigate this complex process alone. Connect with certified experts who’ll ensure your installation meets Tesla’s standards and delivers the performance you expect.