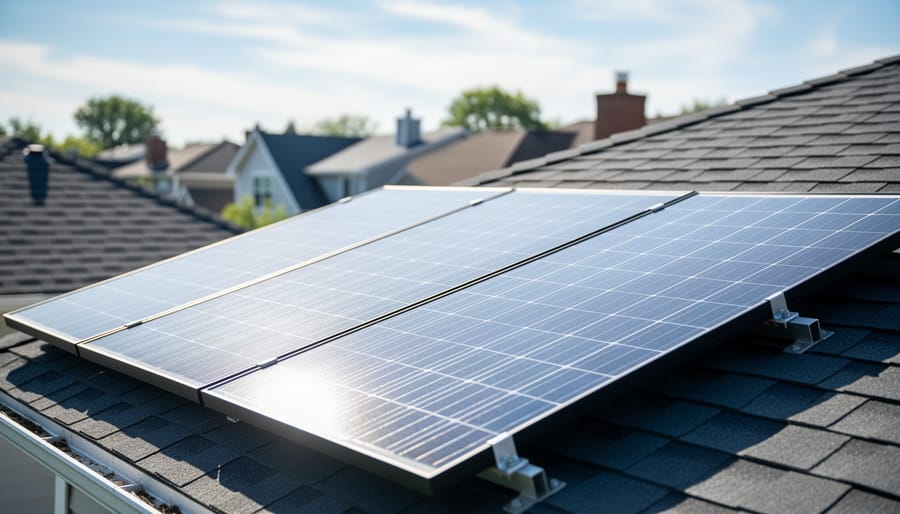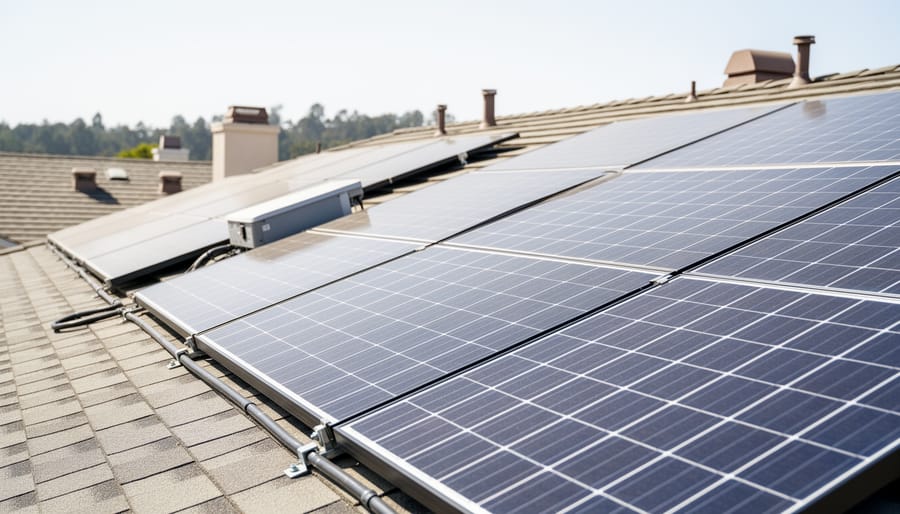
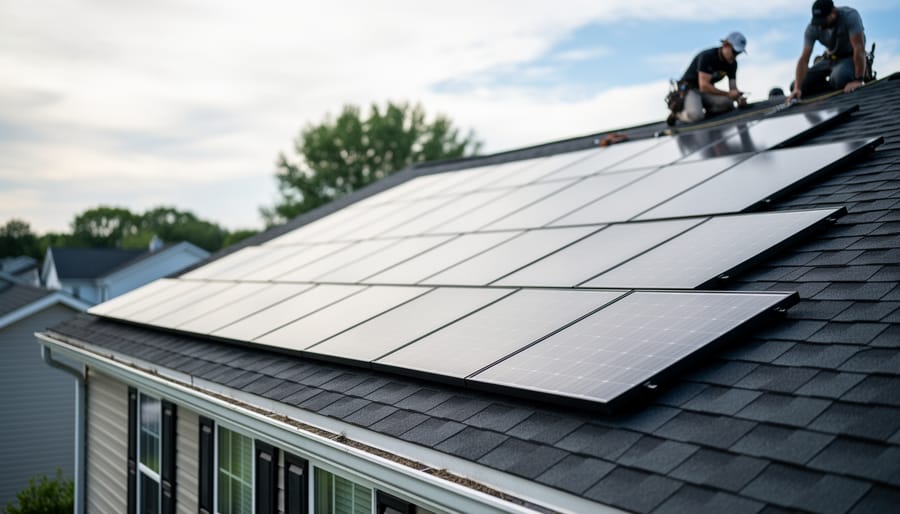
Installing GAF solar shingles transforms your roof into a clean energy source through a specialized process that integrates photovoltaic technology directly into your roofing system. This premium solar roofing option, GAF’s Timberline Solar system, combines traditional asphalt shingles with low-profile solar panels that mount flush to your roof deck, creating a streamlined appearance while generating electricity. The installation typically takes three to five days for an average-sized home and requires certified GAF installers who understand both roofing and electrical systems.
Unlike traditional rack-mounted solar panels, GAF solar shingles install as part of your actual roof structure, which means the process involves more than simply attaching equipment to an existing surface. You’re essentially getting a new roof section with integrated solar capability. Understanding how solar panels work helps clarify why the installation requires precise electrical connections between individual solar units, proper waterproofing at every junction, and careful alignment to maximize energy production.
The reality is that most homeowners hire professionals for this installation rather than attempting it themselves. The work demands specialized tools, roofing expertise, electrical certification, and familiarity with GAF’s specific mounting systems and wiring protocols. However, knowing the installation process helps you evaluate contractor bids, understand project timelines, and make informed decisions about your investment.
This guide walks you through each phase of GAF solar shingle installation, from initial roof preparation to final system activation, giving you the knowledge to confidently oversee your project and ensure quality workmanship.
What Makes GAF Solar Shingles Different
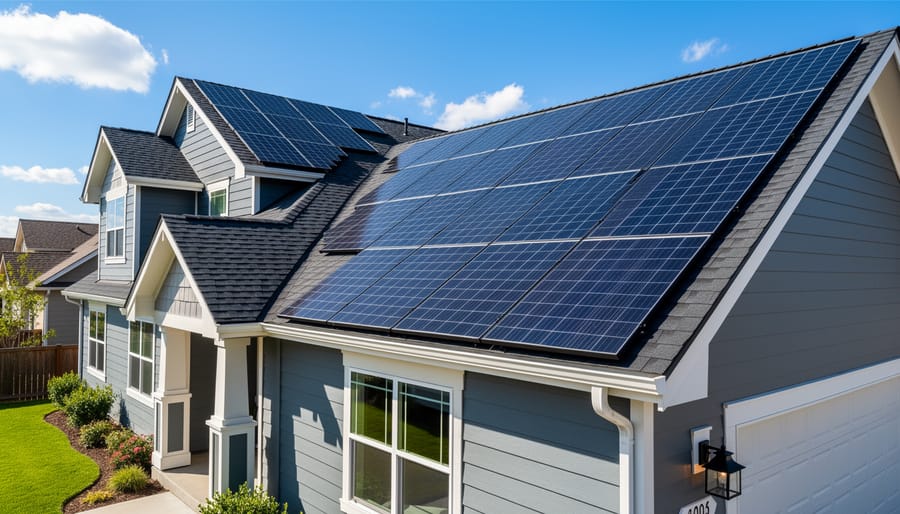
GAF solar shingles represent a fundamentally different approach to residential solar energy than traditional rack-mounted panels. Rather than installing heavy metal frames and bulky modules on top of your existing roof, the Timberline Solar system integrates photovoltaic technology directly into actual roofing shingles that protect your home while generating electricity. Each nailable solar shingle measures approximately 16 inches by 96 inches and installs using standard roofing techniques, creating a low-profile appearance that most homeowners find far more attractive than conventional solar panel comparison options.
The DecoTech system that powers these shingles uses advanced monocrystalline solar cells embedded in a durable, weather-resistant package that meets the same wind and impact ratings as traditional asphalt shingles. This matters during installation because you’re essentially learning modified roofing techniques rather than completely separate solar installation skills. The shingles nail directly to the roof deck just like standard shingles, though with precise spacing requirements to maintain electrical connections.
What truly distinguishes GAF from competitors like Tesla Solar Roof or CertainTeed Apollo II is the seamless integration with existing GAF roofing products. You can install Timberline Solar shingles alongside standard Timberline HDZ shingles from the same manufacturer, ensuring perfect color matching and uniform appearance. The system also qualifies for GAF’s Golden Pledge warranty when installed by certified Master Elite contractors, providing up to 50 years of roofing coverage alongside the 25-year power production guarantee. This dual protection addresses both the roofing and energy generation aspects, something traditional panel installations can’t offer since they involve separate roofing and solar warranties from different companies.
Tools and Materials You’ll Need
Installing GAF solar shingles requires a combination of standard roofing tools and specialized equipment for both the solar and electrical components. Having everything on hand before you start prevents delays and ensures the installation proceeds smoothly. Professional installers typically invest thousands of dollars in specialized tools, which is one reason hiring a certified contractor often makes financial sense.
Essential Tools and Equipment
- Roofing basics: hammer, utility knife, chalk line, tape measure, pry bar, roofing nail gun
- Electrical tools: voltage tester, wire strippers, crimping tools, multimeter, insulated screwdrivers
- Safety gear: fall protection harness, hard hat, safety glasses, electrical-rated gloves, non-slip boots
- Specialized equipment: torque wrench for precise fastener installation, conduit bender for electrical runs
- Ladders and scaffolding: stable access to all roof areas with proper anchoring points
GAF System Components and Materials
The GAF Timberline Solar system requires specific proprietary components that work together as an integrated system. You’ll need GAF Timberline Solar ES (Energy Shingles), which are the nailable solar shingles that generate power. The DecoTech electrical system includes plug-and-play wiring harnesses that connect shingles together, junction boxes for consolidating connections, and weatherproof cable routing components.
For the non-solar portions of your roof, you’ll install GAF Timberline HDZ shingles to match the solar section aesthetically. The complete material list includes roof deck protection underlayment, starter strip shingles, ridge cap shingles, and appropriate flashing materials for valleys and penetrations.
Electrical Components
Beyond the roofing materials, you’ll need inverters matched to your system size, either microinverters for individual shingle control or a string inverter for the array. Electrical materials include properly rated conduit, MC4 connectors for solar wiring, appropriate gauge wire for the voltage and amperage, grounding equipment, and a dedicated circuit breaker for your electrical panel.
Most homeowners lack these specialized tools and won’t use them again after one installation, making professional installation the practical choice for most projects.
Critical Safety Warnings and Precautions
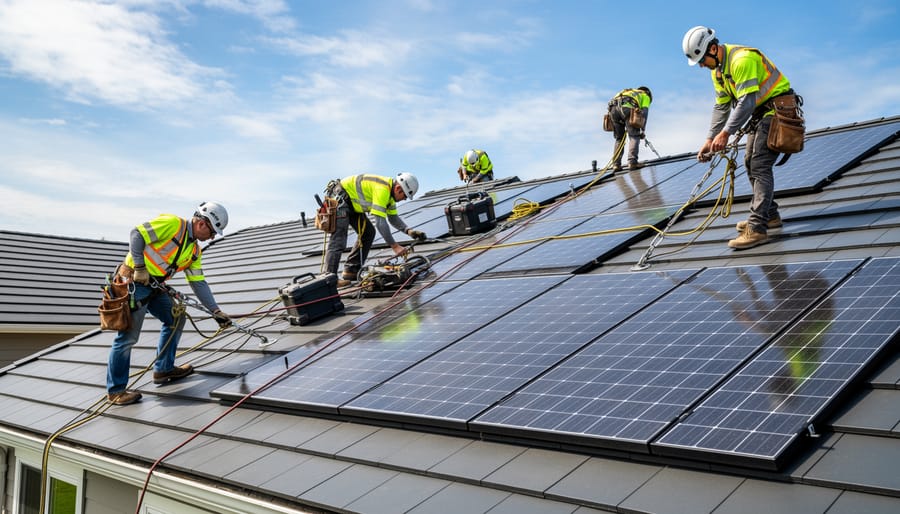
Installing GAF solar shingles involves two of the most dangerous home improvement tasks: working on a pitched roof and dealing with high-voltage electrical systems. Before you consider this project, understand that a single mistake can result in fatal falls, electrocution, or fire, risks that make this one of the few roofing jobs where professional installation isn’t just recommended, it’s essential for most homeowners.
Electrical hazards present the most immediate danger. Even during installation, solar shingles generate power whenever exposed to sunlight, meaning you’re working with live electrical current on your roof. Direct contact with exposed wiring or improper connections can deliver lethal shocks. The DecoTech wiring system must be handled according to strict protocols, and any water intrusion into electrical components creates additional electrocution risk.
Fall protection is non-negotiable for roof work. You’ll need proper harnesses, anchor points rated for fall arrest, and guardrail systems on steep pitches. Most residential roofs exceed the 4:12 pitch where OSHA mandates fall protection for commercial work. Even experienced roofers suffer serious injuries from falls, and adding the distraction of electrical work compounds the risk.
Weather conditions can turn deadly fast. Never work on a roof during rain, high winds above fifteen miles per hour, or when frost or dew makes surfaces slippery. Lightning in the area means immediate evacuation, you’re installing lightning-attractive metal conductors. Extreme heat above ninety-five degrees increases fatigue and the chance of heat stroke while wearing safety equipment.
GAF Master Elite contractors carry specialized training, proper insurance, and the credentials to maintain your twenty-five-year warranty. Their installation work is covered by both workmanship guarantees and liability protection that vanishes with DIY attempts. Unless you’re a licensed contractor with solar installation experience, hire certified professionals.
Pre-Installation Planning and Preparation
Before breaking ground on a GAF solar shingles installation, thorough planning separates successful projects from costly mistakes. The preparation phase typically takes two to six weeks and involves coordination with multiple parties including your local building department, utility company, and potentially a structural engineer.
Permit Requirements and Approvals
Nearly all jurisdictions require building permits for solar installations, and GAF solar shingles involve both roofing and electrical permits. Submit applications to your local building department with detailed plans showing roof layout, electrical schematics, and structural calculations. Many municipalities now accept electronic submissions through online portals. Expect permit fees ranging from $500 to $2,000 depending on system size and location. Some areas also require a separate utility interconnection agreement before installation begins.
Structural and Electrical Assessment
GAF solar shingles add approximately 3.5 to 4 pounds per square foot to your roof load. While most modern roofs handle this easily, homes built before 1970 or those with unusual framing may need reinforcement. A structural engineer can evaluate your roof’s load-bearing capacity through either physical inspection or engineering calculations based on your home’s blueprints. Simultaneously, assess whether your electrical service can accommodate the additional solar input. Homes with 100-amp service panels may require upgrades to 200 amps to safely integrate a solar array.
Preparation Checklist
- Obtain building and electrical permits from local authorities
- Submit interconnection application to utility company
- Schedule structural inspection to verify roof can support additional weight
- Use GAF’s QuickMeasure or other design software to create precise roof layout
- Confirm electrical service capacity and plan any necessary panel upgrades
- Order all materials with 10-15% overage for cuts and replacements
- Arrange final pre-installation inspection of roof deck condition
GAF provides design tools that help visualize your installation and generate material lists. These digital layouts prove invaluable when coordinating with inspectors and utility representatives. Most utility companies take three to eight weeks to approve interconnection agreements, so submit this paperwork early in the planning process to avoid delays once installation is ready to begin.
Step-by-Step GAF Solar Shingles Installation Process
Step 1: Prepare the Roof Deck and Install Underlayment
Begin by thoroughly inspecting the roof deck for any damaged, warped, or rotted plywood or OSB sheathing. Replace compromised sections and ensure the entire surface is smooth, level, and structurally sound. GAF solar shingles require a solid, stable substrate since they add weight and must maintain precise alignment for proper electrical connection.
Check that all deck fasteners are flush with the surface. Protruding nails or screws can puncture underlayment and create leak points. Sweep the deck clean of all debris, dust, and loose materials.
Install GAF’s required underlayment, typically FeltBuster synthetic underlayment or an ice and water barrier in vulnerable areas. Roll out the underlayment horizontally starting at the eaves, overlapping each course by at least six inches. Secure with cap nails or staples per GAF specifications, maintaining a flat, wrinkle-free surface.
Pay special attention to valleys, eaves, and penetrations where you’ll need ice and water shield protection. The underlayment must extend beyond these critical areas to prevent water infiltration.
Mark reference lines using a chalk line to guide shingle placement. Accurate layout now prevents alignment problems later when installing the nailable solar shingles, which must connect electrically in precise rows.
Step 2: Install Standard Shingles in Non-Solar Areas
Start the standard shingle installation in the areas of your roof that won’t receive solar coverage. For the most seamless integration, GAF recommends using their Timberline HDZ shingles, which match the profile and color of the solar shingles.
Begin at the eaves and work upward, following GAF’s standard installation guidelines. Install a starter strip along the rake and eaves edges, then apply the first course with a 5/8-inch overhang. Each shingle requires four nails placed in the nail zone, approximately 6 inches up from the bottom edge. Position nails just above the cutout tabs, avoiding the self-seal adhesive strip.
Maintain a half-tab offset between courses to ensure proper water shedding and visual alignment. When you reach the boundary where solar shingles will begin, stop the standard shingle installation one course below. This creates the transition point for integrating the solar array.
Check your chalk lines frequently to prevent wavering courses. The standard shingles establish the baseline for the solar section above, so precise alignment here is critical. Any misalignment will become immediately obvious where the two systems meet.
Step 3: Position and Install GAF Nailable Solar Shingles
Begin the solar shingle installation at the eave edge of your designated solar array area, working upward in horizontal rows just like standard shingles. Each GAF Timberline Solar shingle measures 15 inches wide by 86 inches long and covers roughly 11 square feet, so plan your layout to minimize cuts while maximizing sun exposure.
Position the first solar shingle so it overlaps the standard shingles below by the specified amount (typically 5 to 7 inches depending on roof pitch). The shingle’s integrated connector strip must face upward and remain accessible for the next course. Check alignment carefully, solar shingles won’t generate properly if the array sits at an angle.
Drive four nails per shingle into the designated nail line marked on the top portion. Use galvanized roofing nails long enough to penetrate at least three-quarters of an inch into the deck. Place nails within the marked zones only, staying clear of the solar cells and electrical components below. Overdriving nails will crack the laminate and void your warranty, so set your nail gun pressure conservatively.
Maintain consistent overlap as you move across the row. The shingles lock together with a tab-and-slot system similar to standard architectural shingles, but you’ll need to guide the electrical connectors through the overlap zone without pinching or damaging them. Leave connector pigtails loose until the DecoTech wiring phase, forcing connections now risks breaking fragile terminals.
Work methodically row by row, checking alignment every third course with a chalk line.
Step 4: Connect the DecoTech Wiring System
The DecoTech system connects your installed solar shingles into a functioning array through integrated wiring harnesses. Start at the designated beginning point of your solar section, typically the lower corner nearest your planned inverter location.
Each GAF nailable solar shingle features a built-in connector on one edge and a matching receptacle on the opposite side. Connect adjacent shingles by carefully pressing the male connector into the female receptacle until you hear and feel a positive click. The connection should seat completely flush with no visible gap. Never force connections at an angle or bend the contact points.
Route the string wiring following the natural flow of your shingle layout. The harnesses are designed to lie flat beneath overlapping courses, maintaining the roof’s weatherproof integrity. As you progress upward, create continuous electrical strings according to your system design, typically connecting 10-15 shingles per string depending on voltage requirements and inverter specifications.
At the end of each string, secure the output cable using the provided clips to prevent wind uplift. Route all output cables toward your designated junction box location, avoiding sharp bends that could damage conductors. Keep cables away from roof edges and penetrations.
Before proceeding, verify every connection is fully seated and locked. A single loose connection will interrupt the entire string’s performance and create potential failure points.
Step 5: Install the Inverter and Connect to Home Electrical
Mount the inverter in a shaded, ventilated location near the main electrical panel, typically on an exterior wall or in the garage. GAF solar systems commonly use microinverters installed directly beneath each solar shingle group, though some configurations employ a single string inverter. For microinverter systems, secure each unit to the roof deck using the provided mounting brackets before connecting the DC leads from the shingle groups. Ensure all connections are weatherproofed with approved sealants.
Run electrical conduit from the inverter location to your home’s main service panel, following local electrical codes for sizing and routing. Use weatherproof conduit rated for outdoor exposure where necessary. At the inverter, connect the AC output leads to the conduit, then route them to a dedicated solar breaker in the panel. Most installations require a 20-40 amp breaker depending on system size.
Inside the electrical panel, connect the inverter output to the new breaker and install a rapid shutdown switch if required by code. Label all new circuits clearly. Don’t energize the system yet, save that for the final inspection and utility approval. This electrical work typically requires a licensed electrician to meet code requirements and preserve GAF warranty coverage.
Step 6: Complete Final Roof Integration and Flashing
With the electrical connections secured, the final step ensures your solar array is fully weatherproofed and visually integrated with the surrounding roof. Install metal flashing along all edges where solar shingles meet standard shingles, using GAF’s compatible flashing materials that match your roof profile. Apply roofing sealant beneath flashing edges and at all penetration points where wiring exits the array. Check that starter strips and hip-and-ridge shingles create continuous coverage without gaps. Walk the entire installation perimeter to verify no exposed nailing, lifted corners, or vulnerable seams remain, these details prevent water intrusion that could damage both the solar system and roof deck beneath.
Testing, Verification, and System Activation
Once your GAF solar shingles are physically installed and wired, verification ensures everything works safely and efficiently before you flip the switch. Skipping these checks risks equipment damage, safety hazards, or a failed utility inspection that delays activation.
Start with a thorough visual inspection. Walk the roof and confirm every solar shingle sits flat with proper nail placement, all wiring connections are secure and weatherproofed, and flashing around the array prevents water infiltration. Check that conduit runs are straight and properly secured, with no exposed wire or loose fittings.
Before energizing the system, use a multimeter to verify continuity and polarity across the DC circuits. Confirm voltage output from the solar shingles matches expected values for current light conditions, typically 30-40V per shingle string on a sunny day. Test ground connections with a ground resistance tester to ensure they meet NEC requirements (typically under 25 ohms).
The formal verification sequence follows a specific order:
- Complete visual roof inspection checking shingle alignment, connections, and weatherproofing
- Perform electrical continuity and voltage tests on all DC circuits before connecting to inverter
- Verify inverter installation meets manufacturer specs and all connections are tight
- Check main electrical panel integration and confirm proper breaker sizing and labeling
- Power up the system and monitor inverter display for normal operation indicators
- Schedule municipal electrical inspection and utility interconnection approval
- Install monitoring equipment and verify data transmission to app or web portal
- Run system under load for 24-48 hours while monitoring performance metrics
After passing municipal inspection, your utility company performs a final interconnection review. They’ll verify the system meets grid safety standards, install a bi-directional meter if needed, and grant Permission to Operate (PTO). This typically takes 2-6 weeks after you submit interconnection paperwork.
Successful operation shows consistent power production that tracks with sunlight intensity, inverter displays reading “normal” or “producing,” and your monitoring system reporting expected daily kilowatt-hour generation. GAF systems typically produce 10-13 watts per square foot of solar shingle coverage under optimal conditions. If production falls significantly short or error codes appear, contact your installer immediately, don’t attempt troubleshooting energized electrical systems yourself.
Common Installation Challenges and Solutions
Even with careful planning, GAF solar shingle installations present several common hurdles that can delay completion or compromise performance if not addressed properly.
Roof pitch complications rank among the most frequent issues. GAF solar shingles work on pitches from 2:12 to 12:12, but steeper slopes create safety concerns and make proper alignment harder to maintain. On low-slope roofs (under 4:12), water drainage becomes critical, you’ll need to double-check that underlayment overlaps are generous and that shingle exposure doesn’t exceed GAF’s specifications for that pitch. Use roof jacks and harnesses on steeper roofs, and consider scaffolding for sustained overhead work rather than rushing through dangerous angles.
Shading analysis errors often surface during installation when trees, chimneys, or neighboring structures cast shadows that weren’t accounted for in the design phase. Even partial shading on a few shingles can reduce the entire array’s output if those shingles are wired in series. The solution: verify shading patterns at different times of day before finalizing your layout, and route wiring to isolate shaded sections or use microinverters that minimize shading impact on the full system.
Wiring routing obstacles emerge when conduit paths conflict with roof penetrations, vent stacks, or attic framing. Running DecoTech cables requires careful planning around these features. When you hit an obstruction, don’t force conduit through tight spaces that could chafe insulation, instead, route around obstacles with proper support clips and maintain the bend radius specified in GAF’s installation manual. If attic access is limited, plan wire runs before you’re halfway through the shingle installation.
Electrical integration challenges appear when the home’s existing panel lacks capacity for the solar backfeed breaker or when the service entrance needs upgrading. Before you start, confirm with an electrician that your panel can handle the additional circuit. If not, budget for a panel upgrade or line-side tap connection, which will affect both timeline and the overall solar shingles cost though the solar tax credit helps offset these expenses.
Cost Considerations and Available Incentives for 2026
Installing GAF solar shingles represents a significant investment, with total project costs typically ranging from $40,000 to $75,000 for an average residential installation. Materials alone, including the solar shingles, DecoTech wiring system, inverters, and standard roofing components, account for roughly 40-50% of the total expense. Labor costs vary considerably based on your location, roof complexity, and contractor experience, but expect professional installation to add $15,000 to $30,000. Don’t overlook permitting fees (usually $500, $2,000) and electrical panel upgrades if your current service can’t handle the additional load, which can add another $1,500, $4,000.
The good news: substantial incentives significantly reduce your out-of-pocket costs. The federal Investment Tax Credit (ITC) for 2026 remains at 30% of total system cost, directly lowering your tax liability by potentially $12,000, $22,500 on a typical installation. Many states and municipalities offer additional rebates, California’s SGIP program, New York’s NY-Sun initiative, and Massachusetts’ SMART program can each contribute thousands more. Your local utility company may provide performance-based incentives that pay you for energy produced, and some offer upfront installation rebates.
Financing options make these systems accessible even before incentives. Solar loans preserve your ability to claim tax credits while spreading payments over 10-20 years, often with monthly costs lower than your electricity savings. Some GAF Master Elite contractors offer in-house financing, while Property Assessed Clean Energy (PACE) programs let you repay through property taxes. Leasing or power purchase agreements require no upfront cost but forfeit incentives to the third-party owner. Like solar panel cleaning maintenance, factor ongoing costs into your financial planning, though GAF systems typically require minimal upkeep beyond standard roof care.
Frequently Asked Questions
How long does a typical GAF solar shingles installation take?
For an average residential installation covering 15-20 squares of roof area, expect the process to take 3-5 days with a crew of 3-4 installers. This includes roof preparation, shingle installation, electrical work, and inspection, though complex roof geometries or electrical upgrades can extend the timeline to a week or longer.
Can I install GAF solar shingles myself to save money?
GAF strongly discourages DIY installation and requires certified Master Elite contractors for warranty coverage. The process involves licensed electrical work, roofing expertise, and specialized knowledge of the DecoTech system, attempting installation yourself will void your warranty and likely violate local building codes.
Will GAF solar shingles work on my existing roof?
GAF solar shingles work best on new construction or complete roof replacements since they integrate directly with the roofing system. Your roof needs at least 200 square feet of south, southwest, or west-facing area with minimal shade, a pitch between 3:12 and 12:12, and structurally sound decking capable of supporting the additional weight.
What happens to my warranty if installation isn’t done correctly?
Improper installation voids both GAF’s 25-year product warranty and the power output guarantee. Only installations performed by GAF Master Elite contractors with proper certification maintain full warranty coverage, which is why professional installation is essential rather than optional.
Do GAF solar shingles require special maintenance after installation?
GAF solar shingles need minimal maintenance, primarily occasional cleaning to remove debris and annual inspections to check electrical connections and verify proper drainage. Unlike traditional panels, there are no racks or mounting hardware to maintain, though you should monitor system performance through the monitoring app to catch any output issues early.
Can I add more solar shingles later if my energy needs increase?
Expanding a GAF solar shingles system after initial installation is technically possible but complicated and expensive since it requires removing existing shingles, extending the electrical system, and ensuring proper integration. Design your system to meet both current and anticipated future energy needs from the start to avoid costly retrofits.
These questions reflect the concerns most homeowners raise when considering GAF solar shingles, and the answers highlight why working with experienced professionals through networks like Ask Solar makes sense. The installation timeline question matters for project planning, while warranty and compatibility concerns often determine whether solar shingles fit a particular home. Understanding that expansion is difficult encourages homeowners to size their systems correctly during the initial design phase rather than planning incremental additions.
Installing GAF solar shingles represents a significant investment in your home’s energy future and property value. While this guide provides the technical roadmap, the complexity of integrating roofing and electrical systems makes professional installation the smart choice for most homeowners. The precision required for weatherproofing, electrical connections, and warranty compliance demands experienced hands.
Professional installation is essential if you lack roofing experience, feel uncomfortable working at heights, or want to preserve GAF’s warranty coverage. Most manufacturers require certified installers to honor their guarantees, and a single misstep can compromise both your roof’s integrity and system performance.
The good news? You don’t have to navigate this alone. Ask Solar connects homeowners with certified GAF Master Elite contractors in your area who specialize in Timberline Solar installations. These professionals understand local permitting, know the latest code requirements, and can maximize your federal tax credits and state incentives.
Request quotes from multiple certified installers through Ask Solar’s network. Compare their experience with GAF systems specifically, ask about warranty coverage, and review their recent projects. The right installer transforms this complex process into a streamlined experience, delivering a seamless roof that generates clean energy for decades.